Android Studio is the official Integrated Development Environment (IDE) for Android app development, created by Google. It provides a comprehensive suite of tools for building, testing, and debugging Android applications. Whether you’re a beginner or an experienced developer, setting up Android Studio is the first step toward creating amazing Android apps. In this detailed guide, we’ll walk you through the process of downloading and installing Android Studio on both Windows and Mac operating systems.
System Requirements
Before downloading Android Studio, ensure your system meets the following requirements:
For Windows
- Operating System: Windows 10/11 (64-bit)
- RAM: 8 GB (16 GB recommended)
- Disk Space: 4 GB minimum (SSD recommended)
- Screen Resolution: 1280 x 800 minimum
For Mac
- Operating System: macOS 10.14 (Mojave) or later
- RAM: 8 GB (16 GB recommended)
- Disk Space: 4 GB minimum (SSD recommended)
- Screen Resolution: 1280 x 800 minimum
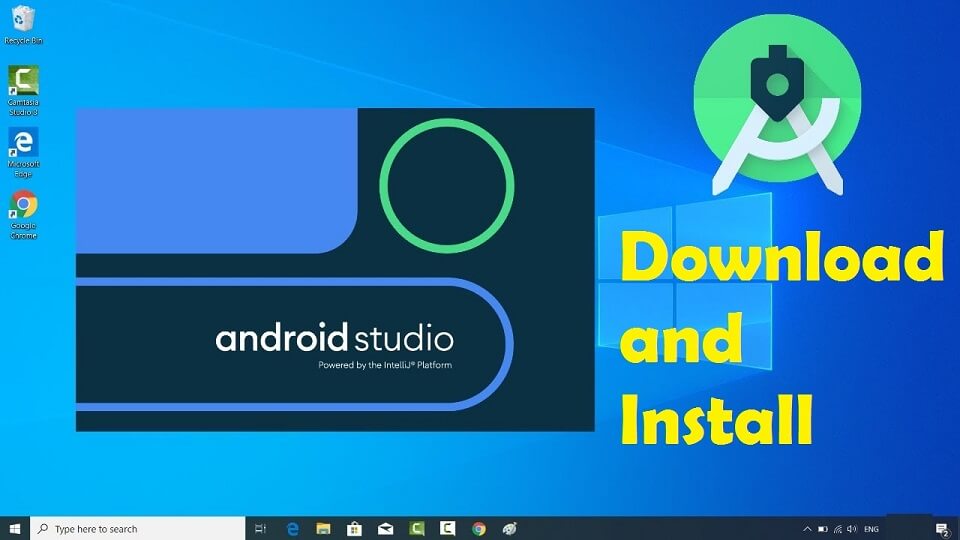
Step 1: Download Android Studio
- Visit the Official Website:
- Go to the official Android Studio website: https://developer.android.com/studio.
- Choose Your Operating System:
- The website will automatically detect your OS (Windows or Mac). If not, click the dropdown menu and select your OS.
- Download the Installer:
- Click the Download Android Studio button to download the installer file.
Step 2: Install Android Studio on Windows
Step 2.1: Run the Installer
- Locate the downloaded
.exefile (e.g.,android-studio-2023.x.x-windows.exe). - Double-click the file to launch the installer.
Step 2.2: Setup Wizard
- The Android Studio Setup Wizard will open. Click Next to proceed.
- Choose the components to install:
- Android Studio: The main IDE.
- Android Virtual Device (AVD): For testing apps on an emulator.
- Click Next.
- Select the installation location (or keep the default) and click Next.
- Choose a start menu folder (or keep the default) and click Install.
- Wait for the installation to complete. This may take a few minutes.
- Once installed, click Next and then Finish to launch Android Studio.
Step 3: Install Android Studio on Mac
Step 3.1: Open the Installer
- Locate the downloaded
.dmgfile (e.g.,android-studio-2023.x.x-mac.dmg). - Double-click the file to open it.
Step 3.2: Drag and Drop
- A window will appear with the Android Studio icon and an Applications folder shortcut.
- Drag the Android Studio icon into the Applications folder to install it.
Step 3.3: Launch Android Studio
- Open the Applications folder and double-click the Android Studio icon to launch it.
- If prompted, confirm that you want to open the application.
Step 4: Configure Android Studio
Step 4.1: Setup Wizard
- When you launch Android Studio for the first time, the Setup Wizard will open.
- Choose whether to import previous settings (if applicable) and click OK.
Step 4.2: Installation Type
- Select the installation type:
- Standard: Recommended for most users.
- Custom: For advanced users who want to customize settings.
- Click Next.
Step 4.3: Select UI Theme
- Choose your preferred UI theme:
- Light: Default light theme.
- Dark: Dark theme (easier on the eyes).
- Click Next.
Step 4.4: Verify Settings
- Review the settings and click Finish.
- Android Studio will download and install additional SDK components. This may take some time depending on your internet speed.
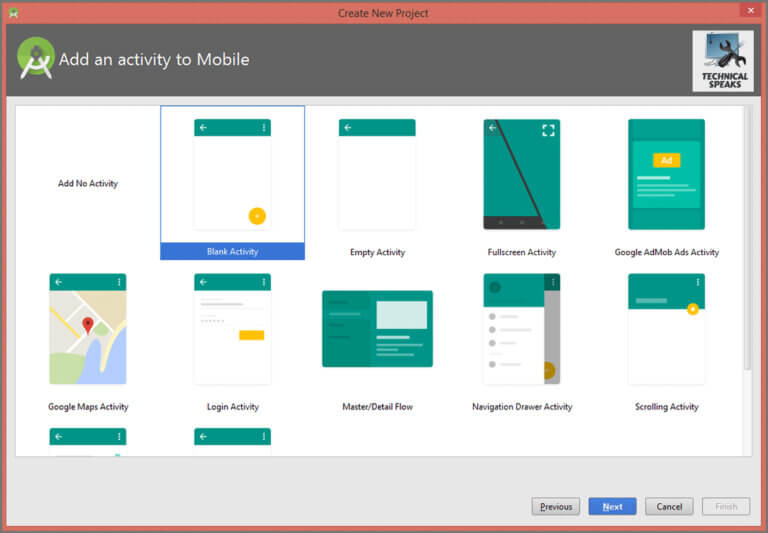
Step 5: Create Your First Project
- Once the setup is complete, you’ll see the Welcome to Android Studio screen.
- Click New Project to create your first Android app.
- Choose a project template (e.g., Empty Activity) and click Next.
- Configure your project:
- Name: Enter a name for your app.
- Package Name: Unique identifier for your app.
- Save Location: Choose where to save the project.
- Language: Select Java or Kotlin.
- Minimum API Level: Choose the minimum Android version your app will support.
- Click Finish to create the project.
Step 6: Set Up an Android Virtual Device (AVD)
To test your app, you’ll need an Android Virtual Device (AVD):
- Go to Tools > Device Manager.
- Click Create Device.
- Select a device definition (e.g., Pixel 5) and click Next.
- Choose a system image (e.g., Android 13) and click Next.
- Configure the AVD settings (e.g., RAM, storage) and click Finish.
- Start the AVD by clicking the green play button.
Step 7: Run Your App
- Connect a physical Android device via USB (ensure USB debugging is enabled) or use the AVD.
- Click the green play button in the toolbar or go to Run > Run ‘app’.
- Select your device or AVD and click OK.
- Your app will build and launch on the selected device.
Troubleshooting Common Issues
1. Slow Performance
- Increase the RAM allocated to Android Studio:
- Go to Help > Edit Custom VM Options.
- Add or modify the line:
-Xmx4g(4 GB RAM).
2. SDK Components Not Downloading
- Check your internet connection.
- Ensure there’s enough disk space.
- Manually download SDK components via Tools > SDK Manager.
3. AVD Not Starting
- Enable virtualization in your BIOS/UEFI settings.
- Allocate more RAM to the AVD.
Conclusion
Congratulations! You’ve successfully downloaded and installed Android Studio on your Windows or Mac system. You’re now ready to start building Android apps. Android Studio is a powerful tool, and while the setup process may seem daunting at first, it’s straightforward once you follow the steps.
Whether you’re developing your first app or working on a complex project, Android Studio provides everything you need to bring your ideas to life. Happy coding!