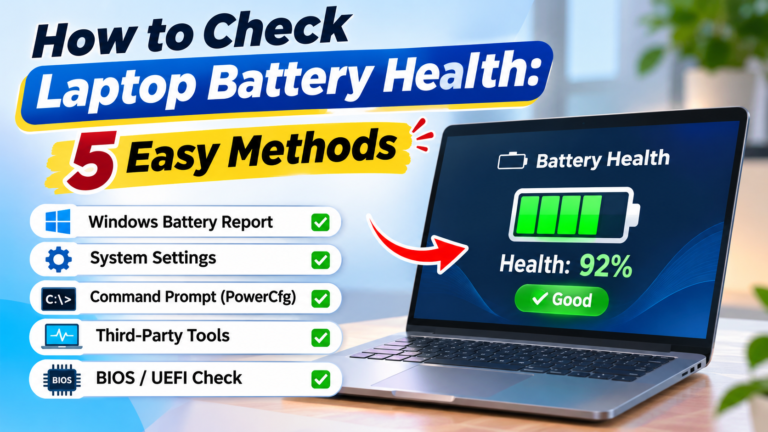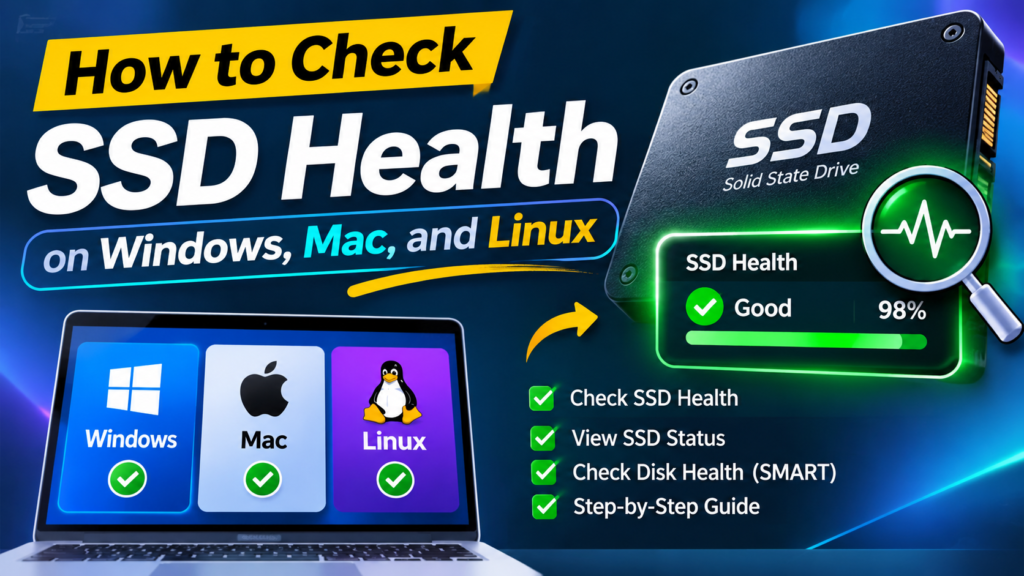
Your SSD holds your files, your work, and your digital life—but unlike a traditional hard drive, it doesn’t make strange noises before it fails. Learning how to check SSD health is the single most effective way to predict a failure before it happens, giving you time to back up your data and avoid catastrophe. The same preventive mindset applies to your power source—just as you monitor your drive, knowing how to check laptop battery health protects you from sudden shutdowns and data loss. Whether you use Windows, macOS, or Linux, every modern operating system offers built-in and free tools to read your drive’s Self-Monitoring, Analysis, and Reporting Technology (S.M.A.R.T.) data, which acts as an early warning system for impending hardware failure.
What Is SSD Health?
SSD health is not a measure of speed; it is a measure of remaining lifespan and reliability. Unlike mechanical hard drives that fail due to physical wear and tear, solid-state drives wear out through write and erase cycles in their NAND flash memory cells. Every time you save a file, the drive writes to a cell, gradually degrading it.
Manufacturers build in “spare” memory blocks to replace worn-out ones, but eventually, this reserve depletes. S.M.A.R.T. is the diagnostic standard that reports critical attributes like “Available Spare,” “Percentage Used,” and “Media Errors” to your operating system . When you check SSD health, you are essentially reading these telemetry reports to see if the drive is nearing its end of life or encountering uncorrectable errors.
Why Is SSD Health Important?
The stakes are high because SSD failures are often sudden and permanent. A hard drive might click for weeks before dying, giving you a warning. An SSD, however, can go from “working fine” to “not detected” in an instant if the controller encounters a fatal error or the firmware locks up due to exhausted spare blocks.
Furthermore, SSD degradation can cause silent data corruption. If cells lose their charge or bad sectors develop, files may become unreadable or corrupted without any obvious system crash . By monitoring health, you are not just checking a percentage; you are verifying that your data is still safe and that the drive’s internal error-correction mechanisms are functioning.
Benefits of Checking SSD Health
Regular monitoring offers distinct advantages beyond just preventing data loss. First, it provides peace of mind. Knowing your drive has 95% life remaining allows you to work without worrying about an imminent crash. Second, it helps you plan financially. If your health check reveals a drive at 10% life, you can budget for a replacement during a sale rather than panic-buying at full price.
Third, health checks can reveal issues related to temperature and power. SSDs can throttle performance if they get too hot, and frequent “unsafe shutdowns” (from power loss or forced reboots) can corrupt data . Monitoring these attributes helps you fix environmental issues before they kill the drive. Finally, if your drive is under warranty, diagnostic reports showing abnormal degradation are often required to claim a free replacement.
Signs You Need to Check SSD Health
You should proactively check your drive if you notice specific performance anomalies. The most common red flag is a sudden, unexplained slowdown in file transfers or application loading. While SSDs slow down as they fill up, a drastic drop in speed often indicates the drive is struggling to read from weak cells.
Other warning signs include frequent “Blue Screen of Death” (BSOD) errors, applications freezing randomly, or files that suddenly refuse to open with “corrupted file” errors . If your computer fails to boot on the first try or takes multiple attempts to recognize the drive, the boot sector may be residing on failing NAND blocks. Additionally, if your operating system throws a “Reliability Degraded” warning in system settings, you must check the drive immediately—this is a direct signal from the hardware that it is no longer trustworthy .
How Does SSD Health Monitoring Work?
The magic behind SSD health monitoring is S.M.A.R.T., a feature built into the drive’s controller. The controller tracks dozens of raw parameters. For example, Attribute 173 (Wear Leveling Count) tracks the average erase cycles across all blocks, while Attribute 202 (Percentage Used) is a manufacturer-calculated estimate of total lifespan consumed .
The operating system queries these raw numbers. However, raw numbers alone are hard to interpret. That is why tools like CrystalDiskInfo on Windows or the macOS Health monitor translate these raw attributes into a human-readable “Health Status” (Good, Caution, or Bad) or a percentage score . The system does not “fix” the drive; it simply reads the controller’s self-assessment.
Best Practices / Tips
To get the most accurate reading, use the manufacturer’s specific tool if available (e.g., Samsung Magician or Western Digital Dashboard), as they may interpret proprietary attributes better than generic tools. Run your check while the drive is relatively idle; heavy disk usage during a scan can sometimes skew temperature readings or cause the scan to hang.
Always check the “Available Spare” threshold. If this drops below the manufacturer’s threshold (often 10% or 5%), the drive enters a read-only mode to protect data, and failure is imminent . Finally, treat the health percentage as a guide, not a guarantee. A drive at 80% health can still fail tomorrow due to a random controller failure, so never rely on health checks as a substitute for regular backups.
Common Mistakes to Avoid
A frequent mistake is panicking over a single “bad sector” or a minor drop in health. SSDs naturally develop a few bad blocks over time; this is normal, and the drive’s over-provisioning handles it invisibly. Only be concerned if the “Reallocated Sector Count” is rising rapidly .
Another mistake is using outdated tools. Windows 11’s built-in “Disks & volumes” properties only show basic NVMe health warnings, not detailed attributes . Relying solely on the Command Prompt wmic diskdrive get status command is also insufficient, as it often just returns “OK” until the drive is already in critical failure . Use a dedicated S.M.A.R.T. reader for accurate data. Lastly, do not attempt to “repair” a failing SSD with software utilities. Once the hardware reports degraded reliability, software cannot restore worn-out silicon.
How to Choose the Right Service
You do not need a paid service; free tools are excellent. For Windows, CrystalDiskInfo is the gold standard—it is lightweight, ad-free, and translates S.M.A.R.T. into clear warnings . For a built-in option, use PowerShell as an administrator and run Get-PhysicalDisk | Select-Object FriendlyName, HealthStatus, OperationalStatus.
Your laptop’s battery is its lifeline, but like all lithium-ion components, it degrades silently over time. If you have noticed your device barely making it through a two-hour meeting or shutting down abruptly at 20%, it is time to stop guessing. Learning how to check laptop battery health is the first step toward avoiding unexpected downtime and costly replacements. Whether you are a Windows power user or a Mac enthusiast, you do not need to be a technician to uncover the truth about your battery’s capacity. In this guide, we will walk through five straightforward methods to diagnose your battery, interpret the results, and decide whether it is time for a replacement.
For macOS, the built-in Disk Utility (First Aid) checks file system integrity, but for true health, hold Option and click the Apple menu > System Information > SATA/NVMe to see “S.M.A.R.T. Status” (Verified or Failing) . For detailed percentage wear, use a free app like DriveDx or the command-line tool smartctl via Homebrew.
For Linux, open a terminal and install smartmontools. Run sudo smartctl -a /dev/sda (replace sda with your drive identifier). Look for the “Percentage Used” or “Media Wearout Indicator” lines. For a GUI, install GSmartControl, which presents the data clearly .
Frequently Asked Questions (FAQs)
Can I check SSD health without installing software?
Yes. On Windows, open PowerShell (Admin) and type Get-PhysicalDisk. On Mac, go to System Information > Hardware > SATA/NVMe. On Linux, use the smartctl command. However, these built-in methods often lack the detailed wear percentages that third-party tools provide.
What is a good health percentage for an SSD?
Anything above 90% is excellent. 70–90% is normal for a drive that has seen moderate use; continue using it but ensure backups are current. Below 70% is a warning zone—start planning a replacement. Below 10% or if “Available Spare” is critically low, replace immediately .
Does formatting an SSD restore its health?
No. Formatting only removes data references; it does not reverse the physical wear on the NAND cells. In fact, excessive formatting (writing zeros) adds unnecessary wear. Health is a hardware metric that only moves in one direction.
My drive says “Caution” but works fine. Should I replace it?
“Caution” means the drive has encountered uncorrectable errors or is running out of spare blocks. It may work for months, but its reliability is compromised. Back up your data immediately and replace the drive at your earliest convenience .
Conclusion
Checking your SSD health takes less than five minutes and can save you hundreds of dollars and countless hours of lost work. Whether you use CrystalDiskInfo on Windows, Disk Utility on Mac, or smartctl on Linux, the goal is the same: to see the warning signs before they become a disaster. Make it a habit to check your drive’s health every few months, and never ignore a “Degraded” or “Caution” warning. Your data is only as healthy as the drive it lives on.